Showing posts with label sewing projects. Show all posts

Sunday, 2 June 2013

In Progress...

I got this lovely package in the mail recently from The Village Haberdashery and thought I'd share. I plan to use them all in a quilt (below) with the floral pattern as the large square centers and then the aqua for the little square. I just had to throw in some Pearl Bracelets in there somehow and I really love this pool color. The little girls will be used as the backing.


It's been a long time since I've added any new fabrics to my stash but with the new baby coming, I've been looking for some color inspiration for the new nursery. We plan to convert our existing office/guest bedroom into the new nursery and the walls are currently painted a soft blue. I think the paint color is really soothing so I will definitely keep it as is. Honestly, with less than 3 months until the baby is due, who has time to paint a whole room?

Anyway, here's my inspiration for the quilt: I pinned this picture of a Disappearing 9 patch quilt to my pinterest because I really loved the color combination of aqua and red.

                                                                 Source: threadtales.files.wordpress.com via Elena on Pinterest


I have no idea if I can get this completed before the new baby arrives but if I can at least cut up some squares, then I'll be happy!


Thursday, 30 May 2013

A Pod of Whale Softies...

It's new baby season again. Not just mine, but I have several friends who have just given birth or are scheduled to so in the next few months. When I came across this whale softie pattern, by things for boys, I knew I could make time to make a few as gifts.


My 3 year old sat next to me for most of afternoon and she really enjoyed "helping" me sew. In fact, she asked if she could have her own pink sewing machine. My heart melted but I think we have to wait a few more years on that one! She did have a lot of fun helping me fill the whale with "fluffies" though (aka polyfill stuffing).


The alphabet whale is waiting to go off to its new baby owner and the pink one if for my little one. She chose it's yellow eye color from my felt scraps. Personally, I think they look like 2 sunny side up eggs but she adores it anyway ;)

Saturday, 11 May 2013

Quick London Bus Cushion

A friend of mine asked me to whip up another London Bus cushion for her son and I was happy to oblige. I sold a few of these during a recent craft fair and still had extra fabric for another.


It's already off to it's new owner :)


Wednesday, 28 November 2012

W.I.P. Wednesday - Christmas Fair Home Stretch!

It's been all about sewing for the Christmas Fair this week.


I put together a few quilted ornaments using more of Aneela Hoey's Cherry Christmas fabric...


Some simple felt bunting for the PTA to sell at their decorations booth...

A few drawstring bags that need to be finished and a small London themed cushion to donate to the PTA raffle...


Two small cusions/pillows made up of some French inspired fabrics panels that I had...


Oh, I also put together a full Thanksgiving meal last Saturday for 10 people and even managed to put up our humble Christmas tree.


With that, I'm on the home stretch. The Christmas Fair is this Saturday, then Christmas itself and then I can finally do some sewing for ME! Hooray!


--


Btw, I'm linking up with W.I.P Wednesday at Freshly Pieced.

Monday, 19 November 2012

Easy Christmas Bunting + mini tutorial

Here's some super simple Christmas bunting that I made for the upcoming (can you guess?) craft fair. It's made from a charm square pack of Aneela Hoey's Cherry Christmas along with some double fold bias tape.

(Sorry for the horrible lighting. This is English winter after all!)

I won't go into a full fledged tutorial but here's what I did in a nutshell:

You'll need: 
- 6 x 5" squares of fabric/charm squares
- coordinating bias tape or ribbon 
- rotary cutter with a pinking blade (ideal) or pinking shears
- quilting ruler or regular ruler

Here's what I did:
- I used my ruler and rotary cutter (w/ pinking blade) to cut my 5" squares of fabric into equilateral triangles. I think a diagram will be easier to follow...


- Once you have all your triangles cut, arrange them across your bias tape and pin with a 1" space between each triangle. I then used a zig zag stitch to sew them together. Leave approximately 8"-10" of extra bias tape on either end for tying up your bunting.

And that's it! Just hang and enjoy :)
---

PS - In case you're looking for more ideas, I created a "Christmas Inspiration" board on Pinterest to keep track of my holiday inspired project ideas. Please come and visit :)

Wednesday, 14 November 2012

W.I.P. Wednesday + My 100th Post!

Hello All. 

I noticed today that this will be my 100th post. I also noticed that I now have 100 followers on Pinterest. I call that a happy coincidence!

I actually never thought I would have come this far when I started this blog. Initially, I just wanted to use the "non-baby" part of my brain and share my creative side along the way. I never thought that I'd actually have followers and meet so many nice online friends who share the same interests as me. It's really been a rewarding journey.

Ok, enough of the mushy stuff and on to finished makes!

1. I made 3 little dollies as gifts for little miss (center) and her friends. Because my daughter is a mixed ethnicity (Filipino/Caucasian) I have a hard time finding manufactured dolls that resemble her in any way. Thus, I'm forever pinning doll patterns that let you customize eye color, skin color, hairstyle, etc. This particular pattern is from Sew News and dolls are donated to a good cause. It was great fun creating a doll for each girl.


3. I popped in the the Selvedge Magazine Christmas fair on Sunday and came away with some beautiful fabric from Karen over at Bluebery Park


3. More softies for the Christmas Fair! 


4. Finally, this is how I get some sewing done while little miss "helps" mommy. I often print off a coloring page of whatever project I'm working on so that little miss can work right along side me.


Until next time. Linking up with...

WIP Wednesday at Freshly Pieced

Friday, 2 November 2012

I heart Spoonflower!

Woohoo! My very first Spoonflower order arrived yesterday. Spoonflower had a 2 for 1 fat quarter sale last week and the fabric arrived nearly two weeks ahead of the guaranteed delivery date (int'l shipping too). I was very impressed with their customer service also.  I think Spoonflower has found yet another repeat customer!


And here's a peak and some of the fabrics I'm using for the upcoming school fair...


---

Finally, here's the finished Japanese fat quarter pillow/cushion that I started earlier in the week.


Until next time...


Wednesday, 31 October 2012

Let the Holiday Sewing Begin!

So I mentioned in my last post that I signed up to have a table at my daughter's Christmas school fair. It's literally only a month away so I knew it was time to do some sewing. I've decided to keep it simple and only sell pillows/cushions, softies and cheaper items like hair clips. No quilts at the moment although I will if I have any time left to make a few.

I've ordered some new fabric and craft supplies but they won't arrive until next week so I thought I'd get started on using what I already have.

1. A quilted pillow/cushion using fabric from my recent Japanese Charm Swap. This one is for the boys...


 2. My very first covered button hair clip. I used some Liberty scraps and plain hair clips that I already had on hand. A bit fiddly at first but I finally got the hang of it. Funny enough, little miss was wearing the matching one yesterday and it has since "disappeared."


Linking up with W.I.P. Wednesday over at Freshly Pieced.

WIP Wednesday at Freshly Pieced

P.S. Happy Halloween!

Thursday, 25 October 2012

W.I.P. Friday

I've been off sewing for a bit lately. DH has started a new job and works longer hours now so by the time the little one is asleep I have no energy left to sew!  I think I just need some new projects to get me going again. Here's what I've been up to lately:

1. Recieved this lovely package from the Village Haberdashery. I needed some basics and a few supplies to start several holiday projects. Annie does such a nice job with her packaging!


2. I finished a fabric covered journal for a friend's birthday. I used the tutorial from Bloom and Blossom I liked the general instructions but next time, I will use my own measurements for the book as I had to adjust the measurements in the end anyway. The pink and yellow mechanical pencils aren't proper for sketching but how often do you find a perfect color match like that?


3. Yet another zippered pouch for a friend's birthday. I'm using up more and more of my precious Hello Kitty Liberty fabric!


4. I somehow signed up to have a table at Little Miss' christmas fair. Not sure what I'm going to sell yet but I always wanted the experience of having a stall at a craft fair. We'll see how this goes. Eeeks!

Monday, 1 October 2012

Fresh Sewing Day - September

Gosh, it's October already? Not too much sewing this month but rather, learned a few new skills so I guess that counts? I made some zippered pouches for the very first time and learned how to do some hand embroidery. Oh, and I participated in my very first fabric swap. So I guess September was a month of "firsts" for me :)

(From top R: A little stitch card, yellow zip ouch, Aneela Hoey cushion, Union Jack pouch & Union Jack cushion.)

---

Linking up with Lynn at Lily's Quilts for Fresh Sewing Day & Small Blog Hop...

Lily's Quilts Lily's Quilts


Sunday, 30 September 2012

Embroidered Cushion...Finished!


This week, I finally had a chance to complete my Aneela Hoey embroidered cushion. Again, I used the "Girl on a Tree Swing Pattern" from Aneela's new book, "Little Stitches." I then used some of my Liberty Lifestyle Bloomsbury Gardens fabric to create a simple pieced border. 

I think it came out really sweet and it was great fun to work on!


Saturday, 22 September 2012

DIY Christmas Ornament Tutorials (Christmas in July)

I'm still trying to shake an annoying cold so new sewing this week. However, as part of the LMQG, I put together this little mosaic of DIY Christmas ornament tutorials for a swap that we're doing in November. They're all so darn cute that I thought I'd share.


---

Can you believe that Christmas is in 94 days? Keep Calm and Panic now :)


Wednesday, 5 September 2012

Union Jack Cushion..."I Love London"

Yes, yet another Union Jack Cushion/Pillow...

[Btw, I finally learned that here in the UK, a "cushion" is the decorative thing that you put on your sofa and a "pillow" is what goes on your bed. To contrast, in the US, a "cushion" is what you sit on when on your sofa while a "pillow" is everything else. Confused yet?]

Anyway, this one is a birthday present for my big sister (if you're reading this, it's in the mail!). She picked out all the fabrics to remind her of her last trip to London. Again, I used a pattern from the Bramble Patch like in my previous cushions here and here).

Front...

Back...

I used a serpentine stitch to do some simple quilting. I didn't think it needed any more since the fabrics had such busy patterns.


I hope she enjoys the cushion though...it's such a happy little thing.

Saturday, 1 September 2012

A little stitch card...

I wanted to use a serpentine stitch to quilt a recent project so I created this little stitch card to keep track of my machine's stitches. There are a few of these on my Viking 875Q of varying widths and lengths with endless adjustment possibilities. So I documented the standard stitches and then started fiddling.


Someone once told me that stitching on paper can dull your needle but it's the only thing I had with straight lines. All I do now is hold up the card to any potential projects and pick my stitch and it's settings. It's primitive, but it works!


Wednesday, 15 August 2012

W.I.P. Wednesday

DH was away for most of the week so I wasn't able to get much sewing done. I suppose a little progress is better than none!

1. A scrappy coaster and mug rug for me. The mug rug still needs some quilting...


2. I started hand embroidering the LOVE paper piece block that I'm doing. I ended up taking out the stitching about 3 times though. I was having issues with the batting coming through the stitches in the front and then I didn't like seeing the back of the stitches on the backing fabric. I think I've got it all figured out now and I can get started with the machine quilting. It stinks being a perfectionist sometimes!

I've decided to just make it into a wall hanging and will use the fabric that I used for the center of the "O" for both the backing and binding. 


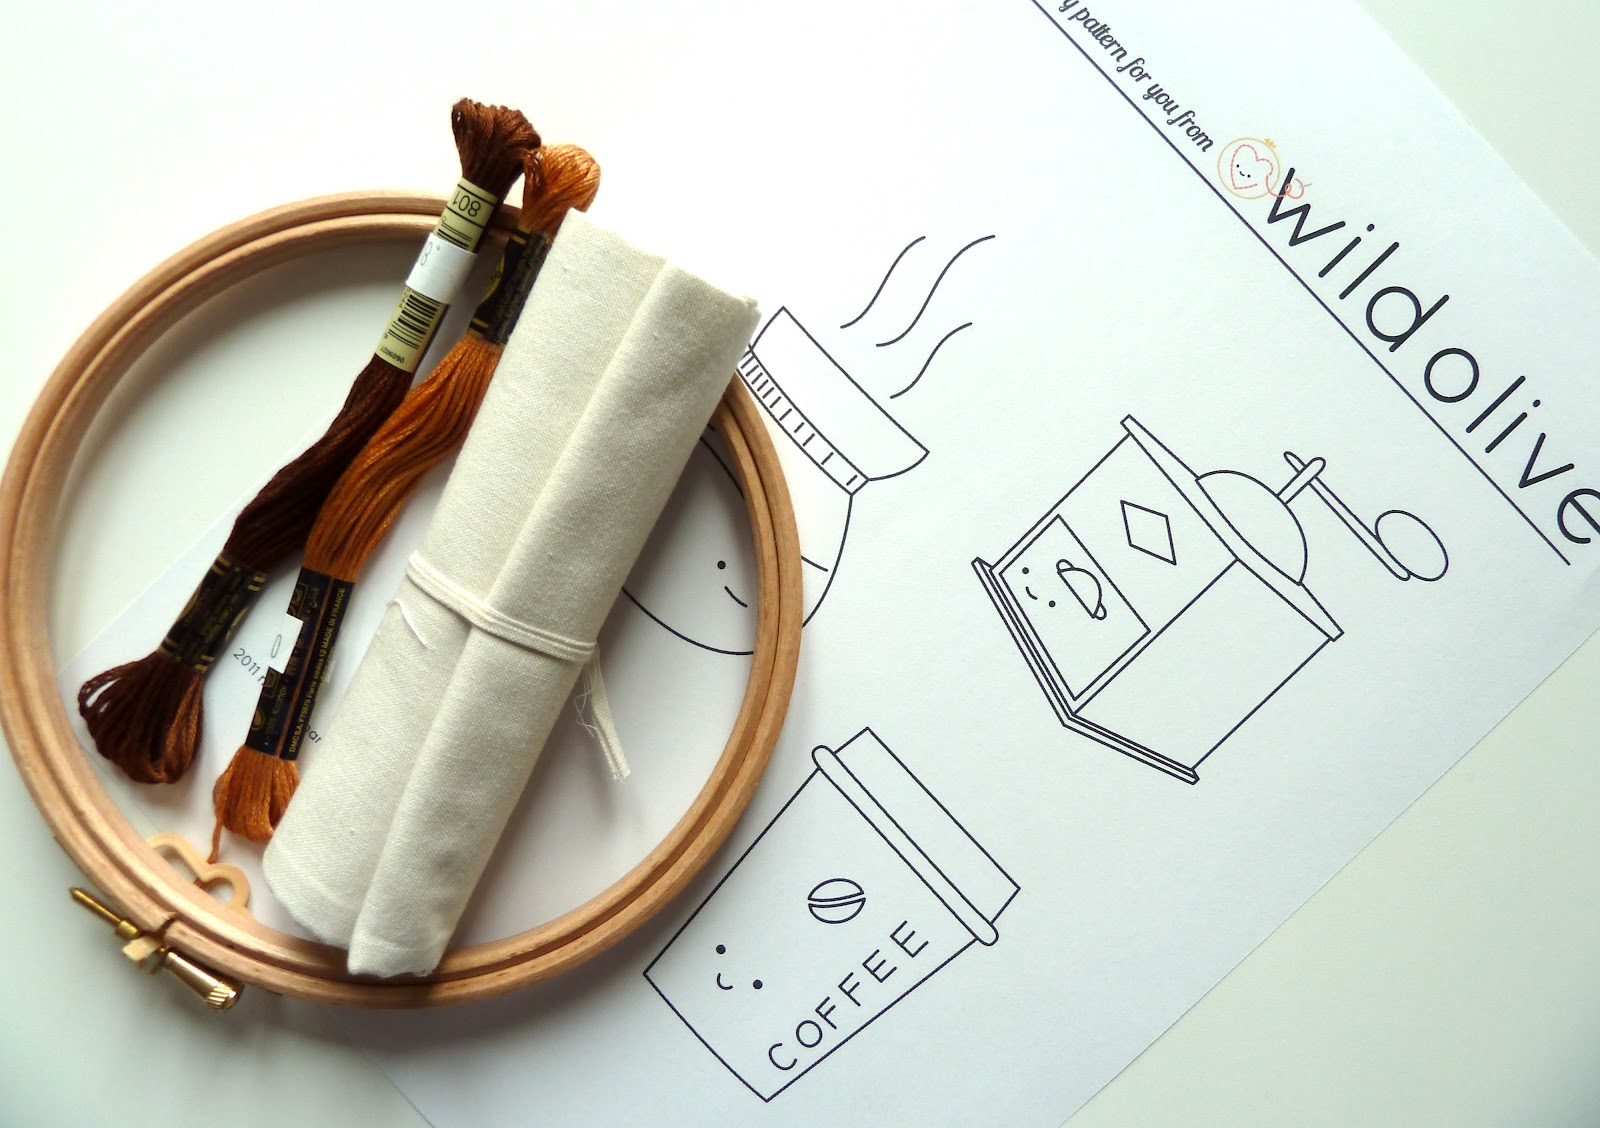
3. I'm going to take an embroidery class next month and thought I should brush up on my skills. Ok, I have no skills but I'm a fast learner :) I haven't decided which pattern to use for my starter project. Perhaps I'll get a chance to do both!

Cute coffee cup (from Wild Olive)
or
That Cat! (from Lazy May)


Linking up with Freshly Pieced for today. Until next week...

WIP Wednesday at Freshly Pieced

Wednesday, 8 August 2012

W.I.P. Wednesday

Here's me very first Work In Progress Wednesday post...

My new guild's August challenge is to create a paper pieced block of your choice. I decided to brush up on my paper piecing skills and try my hand at letters. Plus, I've had my eye on this pattern for a while.

Choosing Fabrics...


W.I.P.


---

Oh, and here's my version of a Teddy Bear Hospital. Lots of toys in need of mending!


Linking up with Freshly Pieced for today...

WIP Wednesday at Freshly Pieced

Friday, 3 August 2012

Sherbet Pips Quilt - Finished!

I have finally finished my Sherbet Pips quilt! Hooray! I got side tracked by lots of other projects so unfortunately, this quilt took me a few months to complete. One of those projects was a matching Sherbet Pips pillow.

However, it's my first finished quilt in a very long time (we're talking years) so it proved to be a good exercise in brushing up on all my skills. I'm super pleased with it and it's now lovingly referred to as Little Miss' "special blanket."

A few stats:

- Fabric: Sherbet Pips charm pack (center), kona medium grey (borders) and Sherbet Pips scarf stripe in pink (backing + binding).

- Pattern: Originally, I intended to use the Charm Squares Baby Quilt Pattern from Elizabeth Hartman but I miscalculated the amount of sashing fabric that I needed. So instead, I just sewed all the charm pack rows together (after following Elizabeth's piecing instructions) into one piece and then used the sashing fabric for a border.

- Borders: Although I typically hand finish my borders I wanted to try a machine sewing technique instead. It was a bit fiddly but found it to be much quicker to finish.

- Quilting: I machine quilted with simple straight lines approximately 1" apart.